 |


|
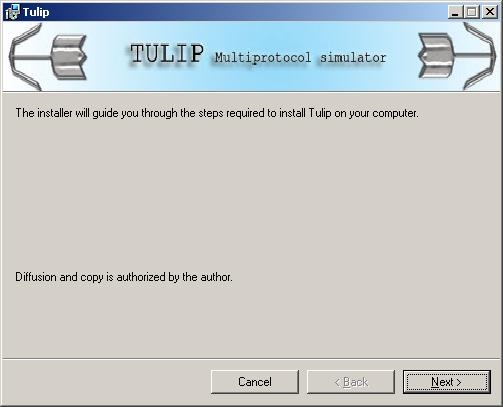
Installation steps: 1) From Download page, it is possible to obtain an installation package Tulip_install.exe. 2) Double-click on the archive; then the following window opens:
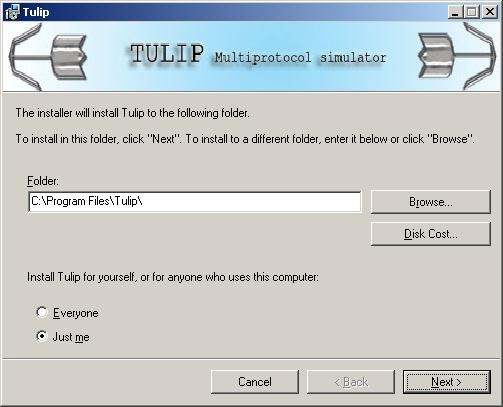
Click on "Next". 3) The following window allows choosing the installation directory, seeing the disk cost and finally specifying whether the program should be used by all local users or only the current user.
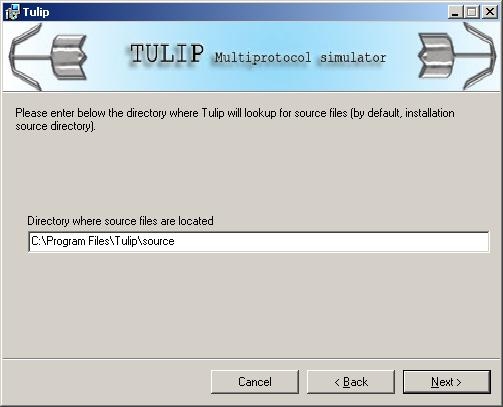
Click on "Next". 4) It is then possible thanks to the dialog below to specify the directory where Tulip will look for source files by default (launching without arguments, see man page).
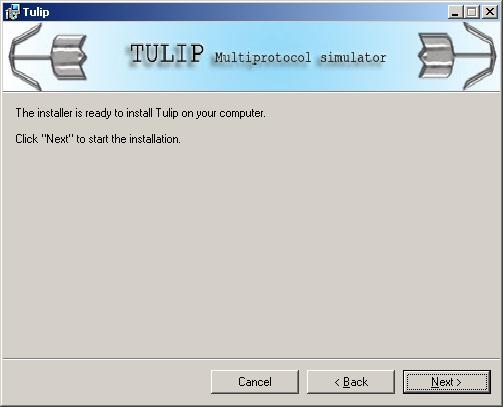
Click on "Next". 5) Confirmation window
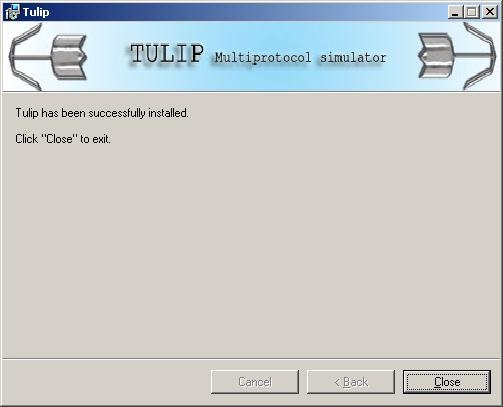
Click on "Next". 6) At the end of the installation, the following window shows up. There is also a shortcut created on the desktop.
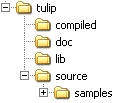
Finally, the following registry keys were generated. They can be modified afterwards if needed (by administrators): [HKEY_LOCAL_MACHINE\SOFTWARE\Tulip] [HKEY_CURRENT_USER\SOFTWARE\Tulip] Tulip can then be used in command line thanks to the executable kernel.exe located within \lib installation subdirectory.
Please refer to the man page for all possible arguments for the command line used.
|
| Installation |
|
 |


